When all the squares are done, it's time to put them all together.
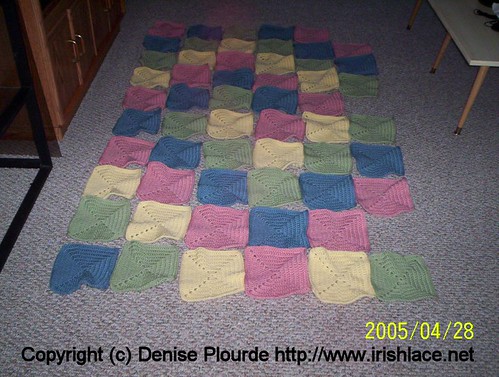
For all blankets, I start by laying the squares out on the floor. If I'm missing squares, I'd like to know now, please.
As you can see, I was missing a few squares for this blanket:
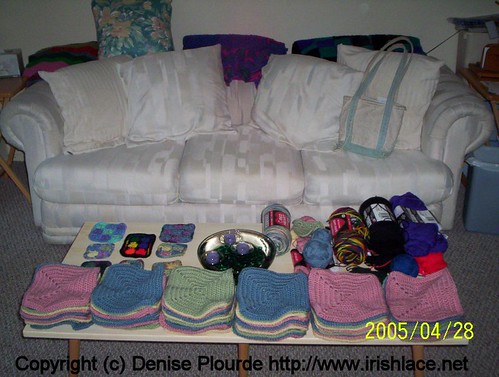
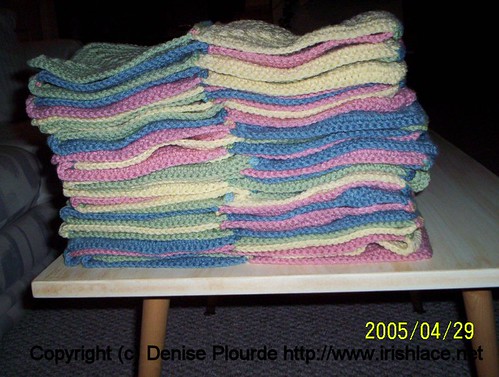
I then stack the squares. The sharp-eyed among you may see that I'm still missing those squares; the stack to the far left
is shorter:
Now it's time to start joining them. How? There are a number of ways to do this, of course. I prefer single crocheting them together. (US usage, would be UKdc.) This produces a definite line on one side, and subtle dots of color on the other.
I put two squares together, one on top of the other, right sides facing. So it looks like a double-thick square. I then work a row of sc, catching front loop and back loop of each stitch. So if you look at the hook immediately after insertion, there are five loops on it. The initial loop, and the four from the squares. I work two sc into the end space, then one sc into each stitch across, then two sc into the other end space. I clip the yarn and weave in the ends. And go on to the next square. I make "scarves" of however many squares (10, for my 6by10 blankets), then join the scarves in the same way: with right sides facing, I crochet their edges together. Again, I work 2sc into each corner, and 1 sc into each of the middle stitches.
"Right side" refers to the side that was facing me as I did the last round, by the way. I find it easier to crochet the edges that way. If you don't have a preference, then do as you wish. I also arrange the squares so that all their "seam" lines (the chains that lead to the next row) are running the same way; again, this consistency makes it easier for me, and again, if you don't have a preference, do as you wish.
I stack the scarves the same way I stack the squares. They are ready to be joined:
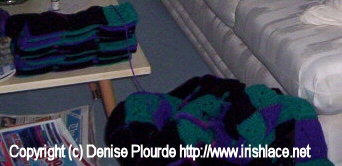
Here is another blanket in progress. Scarves neatly on the table, blanket sort of crumpled on the floor (I recommend
the stacks. Crumpling the blanket is not especially helpful. Not harmful, but not really helpful either.):
Once the blanket is assembled, I like to put a row or two of sc (or more, if I'm feeling fancy) around the whole thing. It reinforces the edge and helps give a unified look to the blanket.
For the first round, I work one sc into each stitch, and two sc into the corner of each square, with the exception of the four corners of the blanket as a whole. Those get 3 sc.
The second round is much simpler. One sc into each sc, except for the four corners. I find the 3sc I did in the first round, and work 2sc into the second and third stitches of that set.
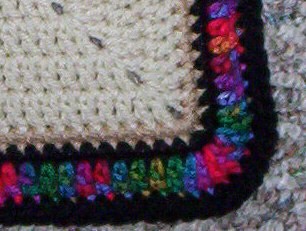
For this one, I kept going.
1. First round was beige. 3sc in corner (= 1 3sc cluster)
2. Second was black. 2sc in second and third stitch of the 3sc cluster. (=2 2sc clusters)
3. Third round was multicolor. 2dc into each stitch of the 2sc clusters. (=4 2dc clusters)
4 Fourth round was black. 2sc in the first stitch of the 2nd, 3rd, and 4th 2dc clusters. (= 3 2sc clusters, separated by 1 sc)
Clip the yarn, weave in the ends, and (barring contraindications on the yarn label) toss it into the washer, use some fabric softener if you have it, and tumble it dry on low. While the miracles of modern technology are doing what they do best, you can make a care label. (Optional, but nice if you're going to give the blanket away.) When the blanket comes out of the dryer, sew the label on, and you're done!